How I built this website
As a STEM enthusiast, I wanted to create a website that showcases my projects and interests. I decided to build a static website using HTML, CSS, and a bit of JavaScript. As we have already been learning the basics of HTML in school and building my first complete website, I thought the building a website would be the best way to show my interest in STEM. Here is my old website.
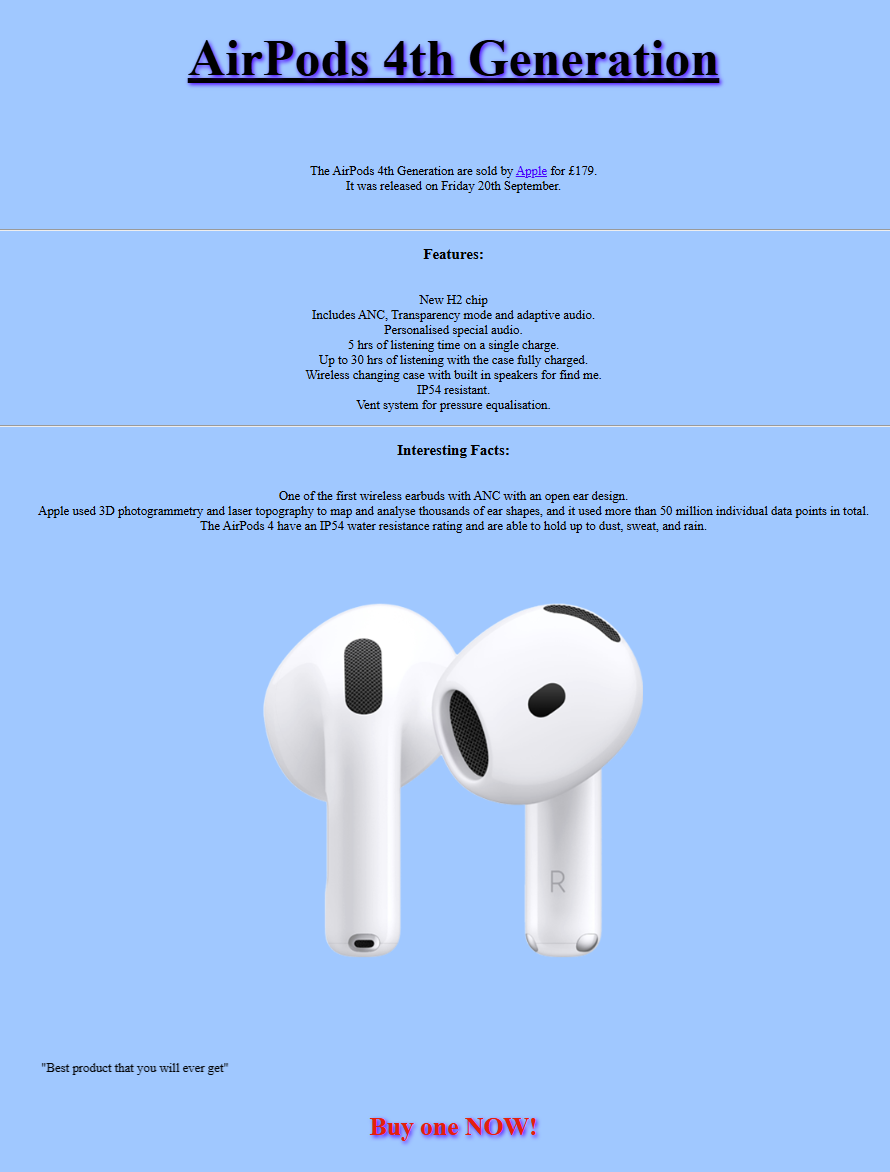
This website started as a Visual Studio Code project, building upon my experience creating an AirPods showcase website in school. Using W3Schools as a reference, I began with the basic HTML skeleton structure and expanded from there.
<!DOCTYPE html>
<html lang="en">
<head>
    <meta charset="UTF-8">
    <meta name="viewport" content="width=device-width, initial-scale=1.0">
    <title>Portfolio</title>
</head>
<body>
    // Content here
</body>
</html>
After that it was all just a matter of expanding on it. The navigation bar was my first major component, designed to provide easy access to different sections of the site. I implemented consistent styling using CSS variables to maintain a cohesive look across all pages.
For deployment, I leveraged several AWS services. Amazon S3 hosts the static website files, Route 53 manages the domain registration and DNS settings, while Amplify ensures fast content delivery and HTTPS security. Throughout development, Visual Studio Code served as my main webpage development environment, making it easier to organize and edit the multiple HTML files that make up this site.
The website consists of several interconnected pages: the main landing page (index.html), technical specifications (technical.html), paper organ project details (paperorgan.html), performance venues (performances.html), and this documentation page. Each page maintains consistent styling while serving its unique purpose in showcasing my STEM journey.
One challenge to build this website was building the image carousel. It was really hard as you needed to use some JavaScript. Luckily, I followed this tutorial which explained it really well step-by-step